Sometimes you get that almost PERFECT image...The location, light and even the expression on your subject’s face is just right, but you have this feeling that something is missing. Often that missing piece can be something as simple as atmosphere – the scent, sound, and emotion of the season. One great way to recreate this whimsical attribute is through creating composites with Photoshop Overlays.
We know it can be frustrating when you don’t seem to be able to get the look you are wanting by just placing an overlay over your image because it either feels disconnected from the scene or you can't quite get your blending just right though changing layer opacity or blend mode alone. Or maybe you LOVE a certain overlay as-is but find yourself not wanting every single one of your images to look just alike or want to avoid anyone noticing the similarities.
That’s where this guide comes in! We’ve got a whole host of tips and tricks for overlays to ensure you can confidently elevate your images like a pro!
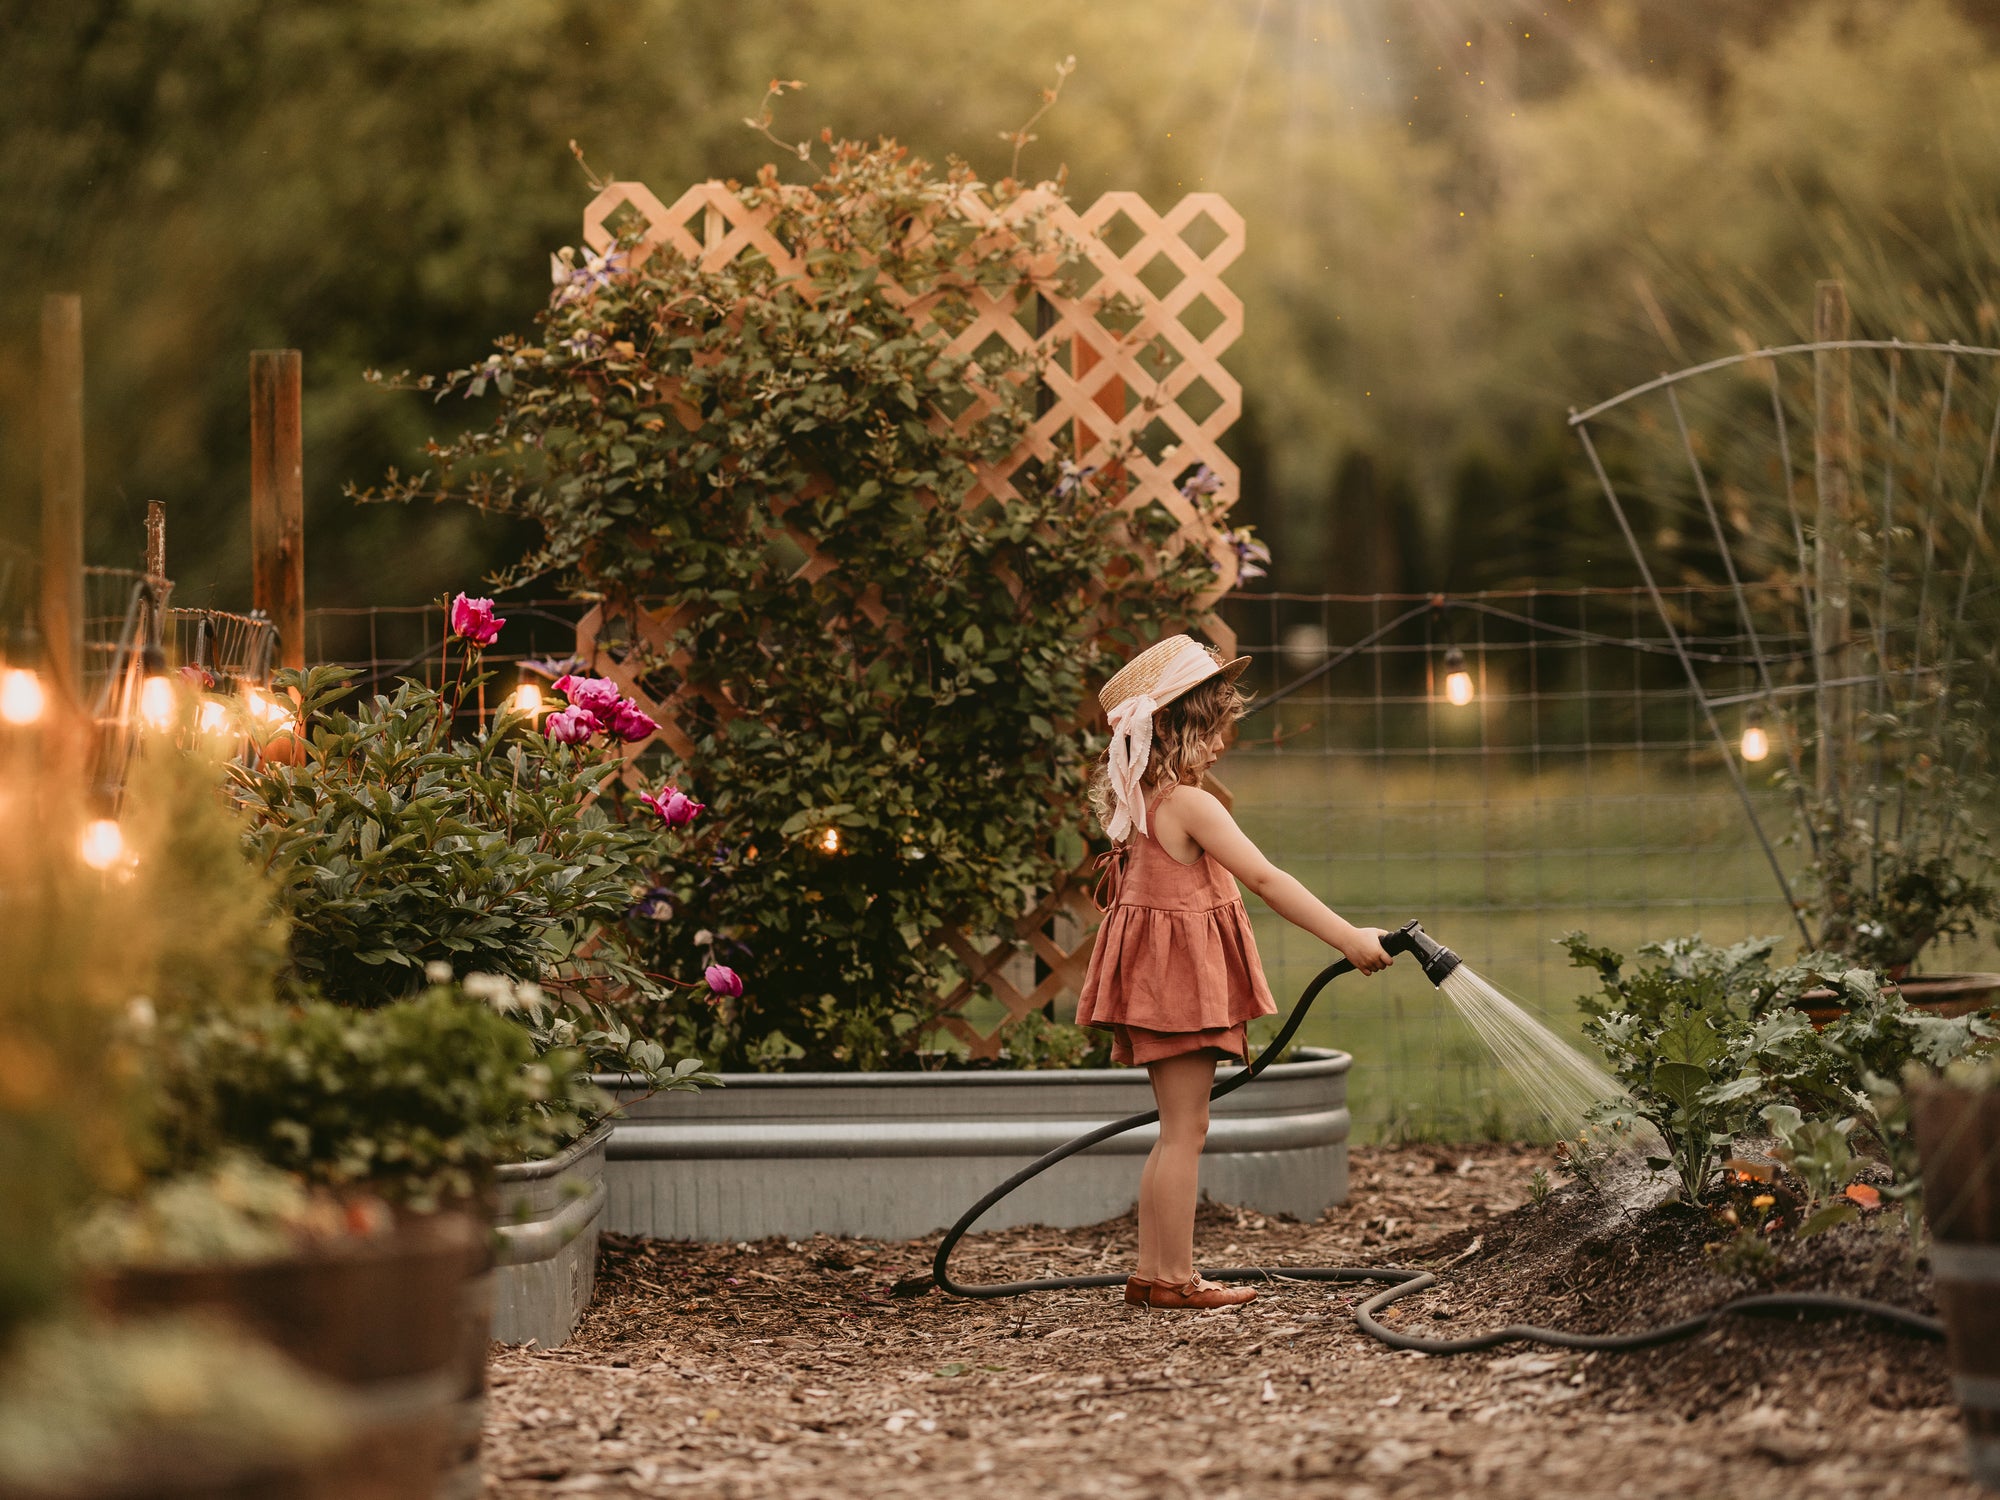
Here we’re going to walk you through how we transformed this gorgeous image by Jessica Kelley with our Leaf Overlays for Autumn! (Totally new to overlays? We've linked tons of free education at the bottom!).
Make Magic with Luxe Leaf Overlays!
This guide covers our top tricks and tips for unlocking unlimited creative uses for your Luxe overlays! These tips can work on any overlay that features physical objects like leaves, snow, glitter, confetti, flower petals, and more!
-
Load your unedited image into Photoshop:

Note: You can also apply overlays to edited images, but we prefer editing after adding overlays to ensure even toning throughout!
-
Locate the folder containing your overlays, select your first choice & drag it over onto your image in Photoshop.

Note: If you aren’t yet familiar with the look and feel of each overlay, we recommend dragging each on onto your image and scaling it for an accurate preview before making your first choice!
-
Scale your Overlay over the image and transform (or flip) as needed. Then click on the little check in the top bar to place your image.


Note: If you run into an error trying to place an overlay on your image, you can always open the overlay into another tab in Photoshop then copy and paste it over your image.
-
Once placed, you will then click on your overlay & apply a Layer Mask to mask out any leaves you don’t feel fit the particular image, with a soft black brush. This step will keep your overlays always feeling fresh and looking unique!


Note: Be sure you have the mask selected so you don’t paint any black directly onto your overlay!
-
Once you are satisfied with the leaves you’ve removed, you can adjust the tones of the leaf overlay to better match your image by applying a Color Balance Adjustment Layer (Layer > New Adjustment Layer > Color Balance).

Now, you don’t want these color adjustments to affect your whole image, so you will apply the Color Balance adjustments ONLY to your leaf overlay layer via “Create Clipping Mask” in your layer options:

You can re-adjust your Color Balance options by double-clicking on the little Balance icon on your Color Balance layer. Doing this will re-open the Color Balance Preferences and allow you to further adjust the sliders while only seeing the effect on your leaves.
Note: You can make multiple layer-specific adjustments this way with different Adjustment layers until you are happy that the overlay tones look native to your original/target image.
-
Now that things are looking blended color-wise, you may find you want to add more to your image. You can add in more leaves with another overlay the same way as before!
(Pick your overlay, place & scale, mask out undesired portions of your overlay, apply Adjustment Layers & clip those adjustments to your overlay!)

Note: We recommend only apply a few overlays to avoid overcrowding your image.
-
Now, depending on the amount of background blur/bokeh present in your image you may find that you want to bring more of a real feel to the falling leaves via blur effects. Here we applied a soft gaussian blur via Filter > Blur > Gaussian Blur (we don’t recommend going over 5.0 for this).

We only applied the Gaussian Blur to our first leaf overlay as we wanted it to blend into the background, with other leaves in the foreground.

We also added just a touch of Motion Blur for some soft movement on those background leaves!

Note: If your image was shot with more motion, we recommend really emulating the amount of motion blur native to your original image in the same way you want to sort of match your gaussian blur to the amount of bokeh in your background!
-
You may really like some of the leaves in your image, but wish they were somewhere else in the composition. In this case you would select the layer containing the leaf you want to move and then Rasterize Layer in your layer options (Layer > Rasterize Layer) to convert that smart layer to a directly editable layer.

Once rasterized, you will be able to use a lasso or selection tool around the leaf you want to move and then be able to use the move tool to drag it anywhere you’d like in your image!

Note: Moving specific portions of your overlays around to suit your image can be one of the best ways to create a realistic foreground/background effect!
-
Once happy with your overlay placements and adjustments, you can edit the full image! If you don’t want to lose your adjustments, we recommend creating a finished copy of your image onto another layer (On a Windows PC, press Shift+Ctrl+Alt+E. On a Mac, press Shift+Command+Option+E)
Then Navigate to Filter > Camera Raw Filter… to apply your edits. You can use Camera Raw just like Lightroom and make either manual slider adjustments, or apply a preset. Here we applied the “Fire Film” preset from Luxe Touch of Tweed 2.0!

And finally you’re done!
Here’s our before:

And Here’s the finished image:

These are just some of our favorite tricks you can use to mask, blend, adjust, and customize your Luxe Leaf Overlays for realistic composites that are unique to your images and can be used every single time!
For the most realistic composites and seamless blending we recommend adding your overlays to fall or autumn scenes that already have similar tones or leaves on the ground.
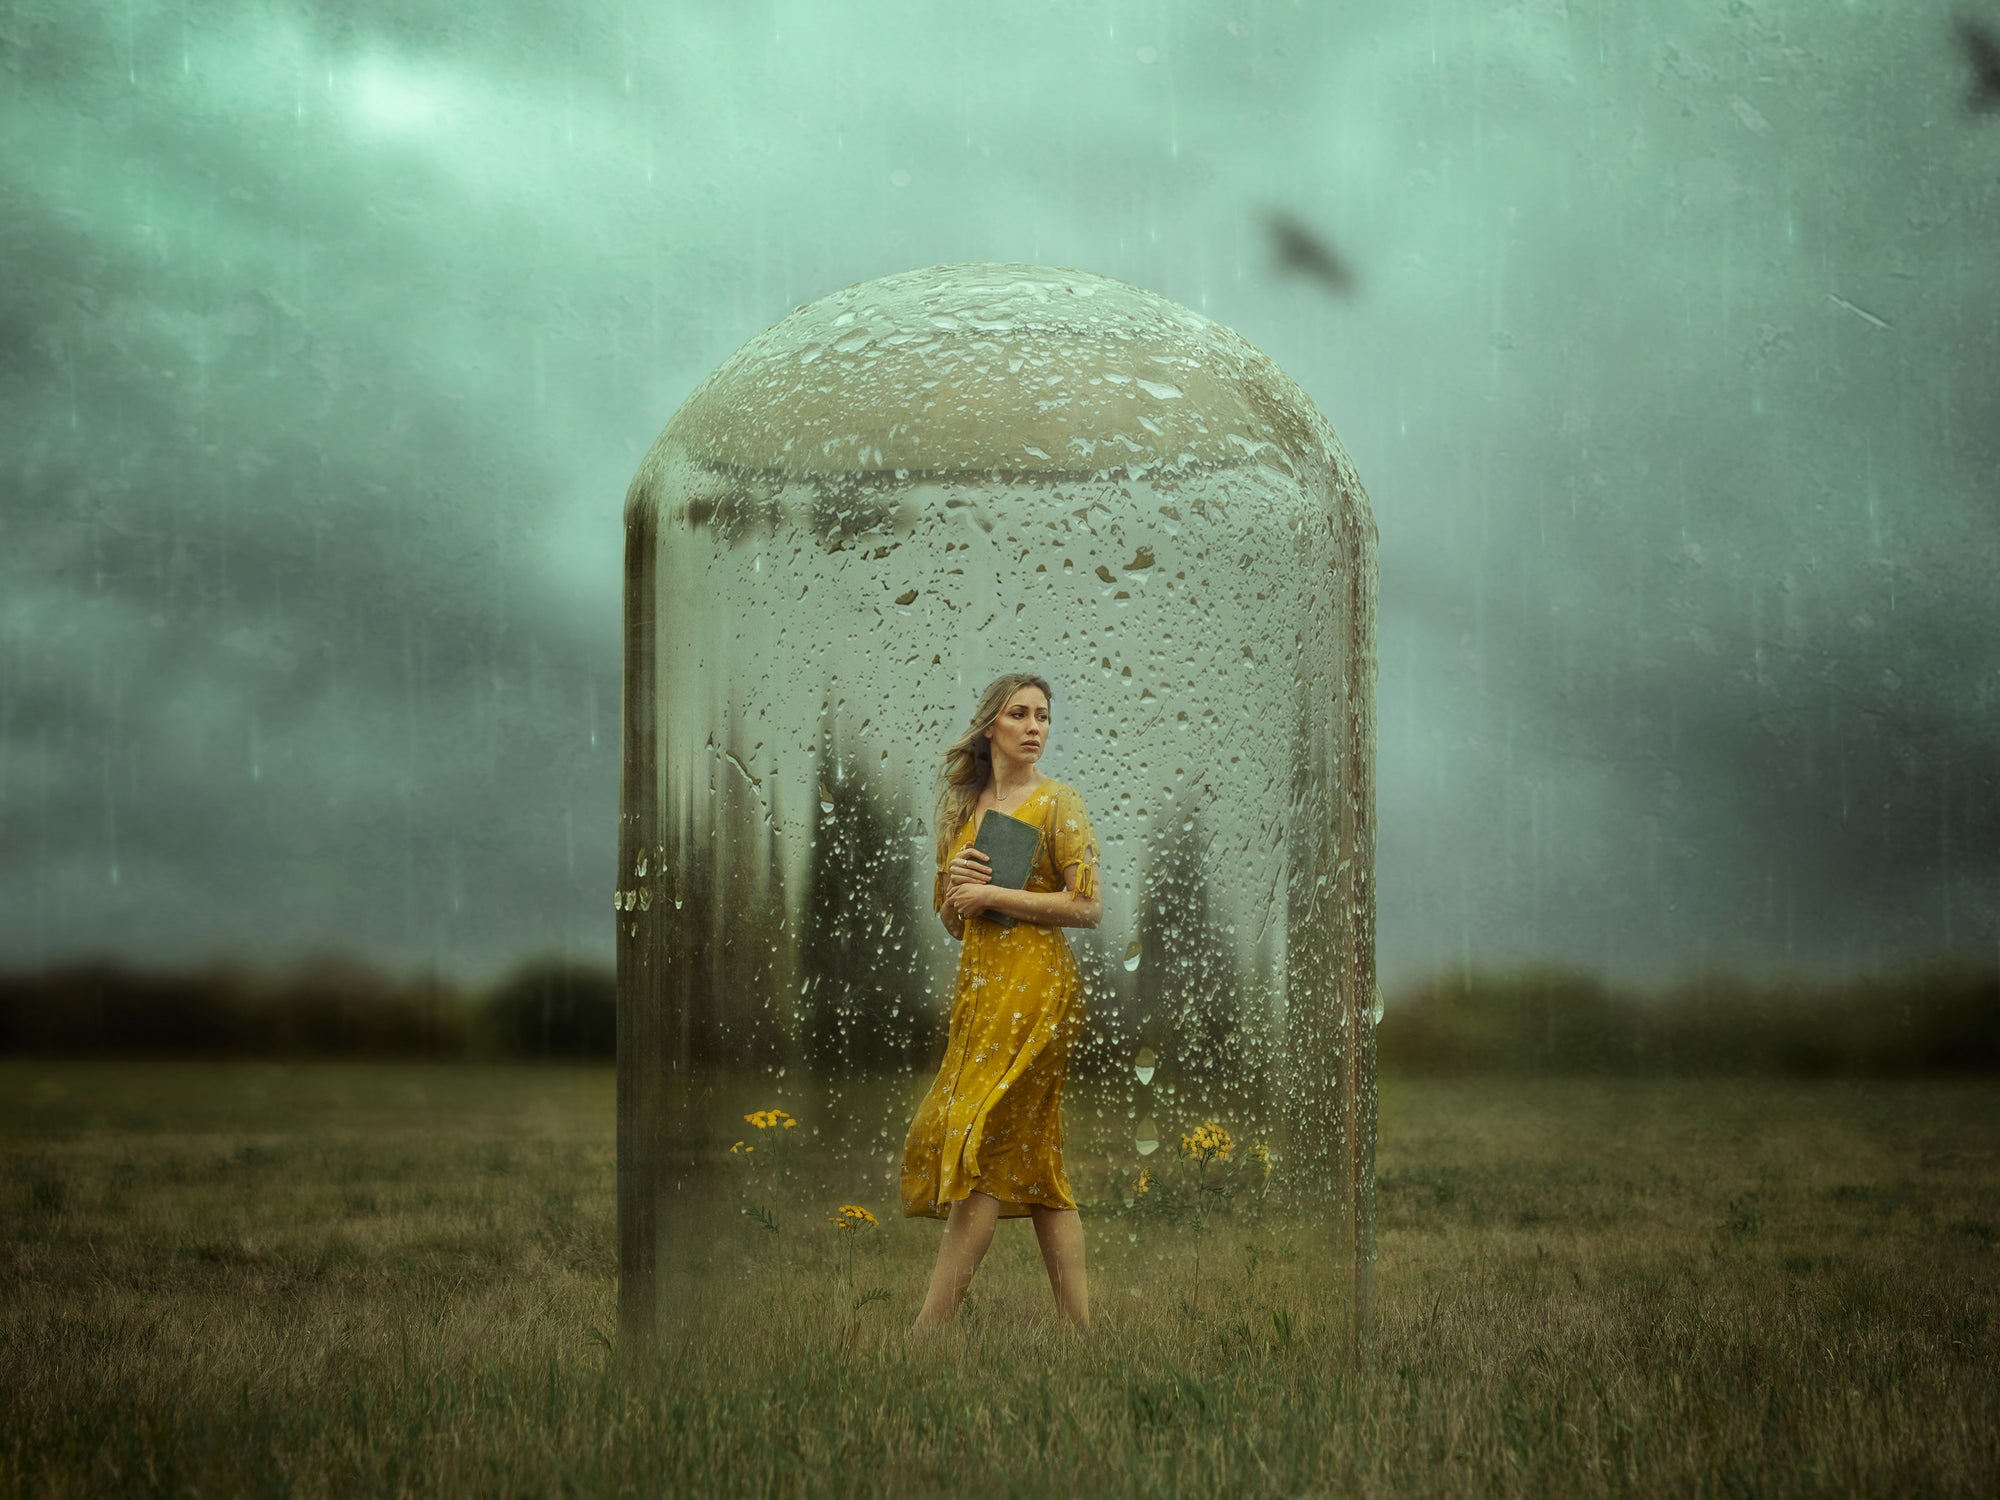
Here’s another sample by Toni Brenning Imagery in which she used masking, opacity changes, and Gaussian Blur on her Luxe Leaf Overlays to create this stunning composite:

Note her beautiful work in creating distance & atmosphere between the back & foreground with the placement, blending, and opacity of the foreground leaves!
Want to learn more? Check out the FREE educational resources below!
Learn to Use Overlays in Photoshop, Elements, or On the Go
Learn to Import Overlays in Your Adobe CC Library for Easy Access
Learn to Apply Sky Overlays With Photoshop's AI Sky Replacement