If we were to classify post-processing parameters by their impact on photos, white balance would come up as the first one in the list. Have you wondered what is mainly responsible for the distinctive cold cinematic look? You guessed it, white balance. Have you wondered where beautiful sunset photos draw their warmth? Again, from warm white balance settings. And if you wondered where beautiful presets draw their incredible power from, yes, it partly comes from creative use of white balance.
Setting white balance will not only allow you to see colors as they were at the time of shooting but will also help you understand how to be creative and adjust temperature and tint at will. Even if you heavily incorporate presets in you workflow, working with white balance can help with the departure from the beaten path and the whistling of a personal visual style.
Before going ahead with Lightroom itself, remember that the whole white balance thing starts when you take your photos in the first place. To make life easier, if your camera can shoot RAW do not even think about it, shoot RAW and forget about JPG files. This leaves white balance as an open parameter that you can finalize in post-processing without loss of quality! This is cool stuff, especially now that smartphones can shoot RAW...
The white balance section in Lightroom's basic panel looks like this:
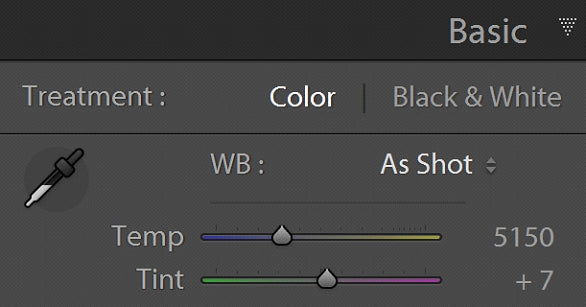
It consists of the white balance selector on the left, the temperature slider and tint slider, and a dropdown preset menu. Sliders colors are not arbitrary but based in basic color theory. What you have to remember for your adjustments is the following:
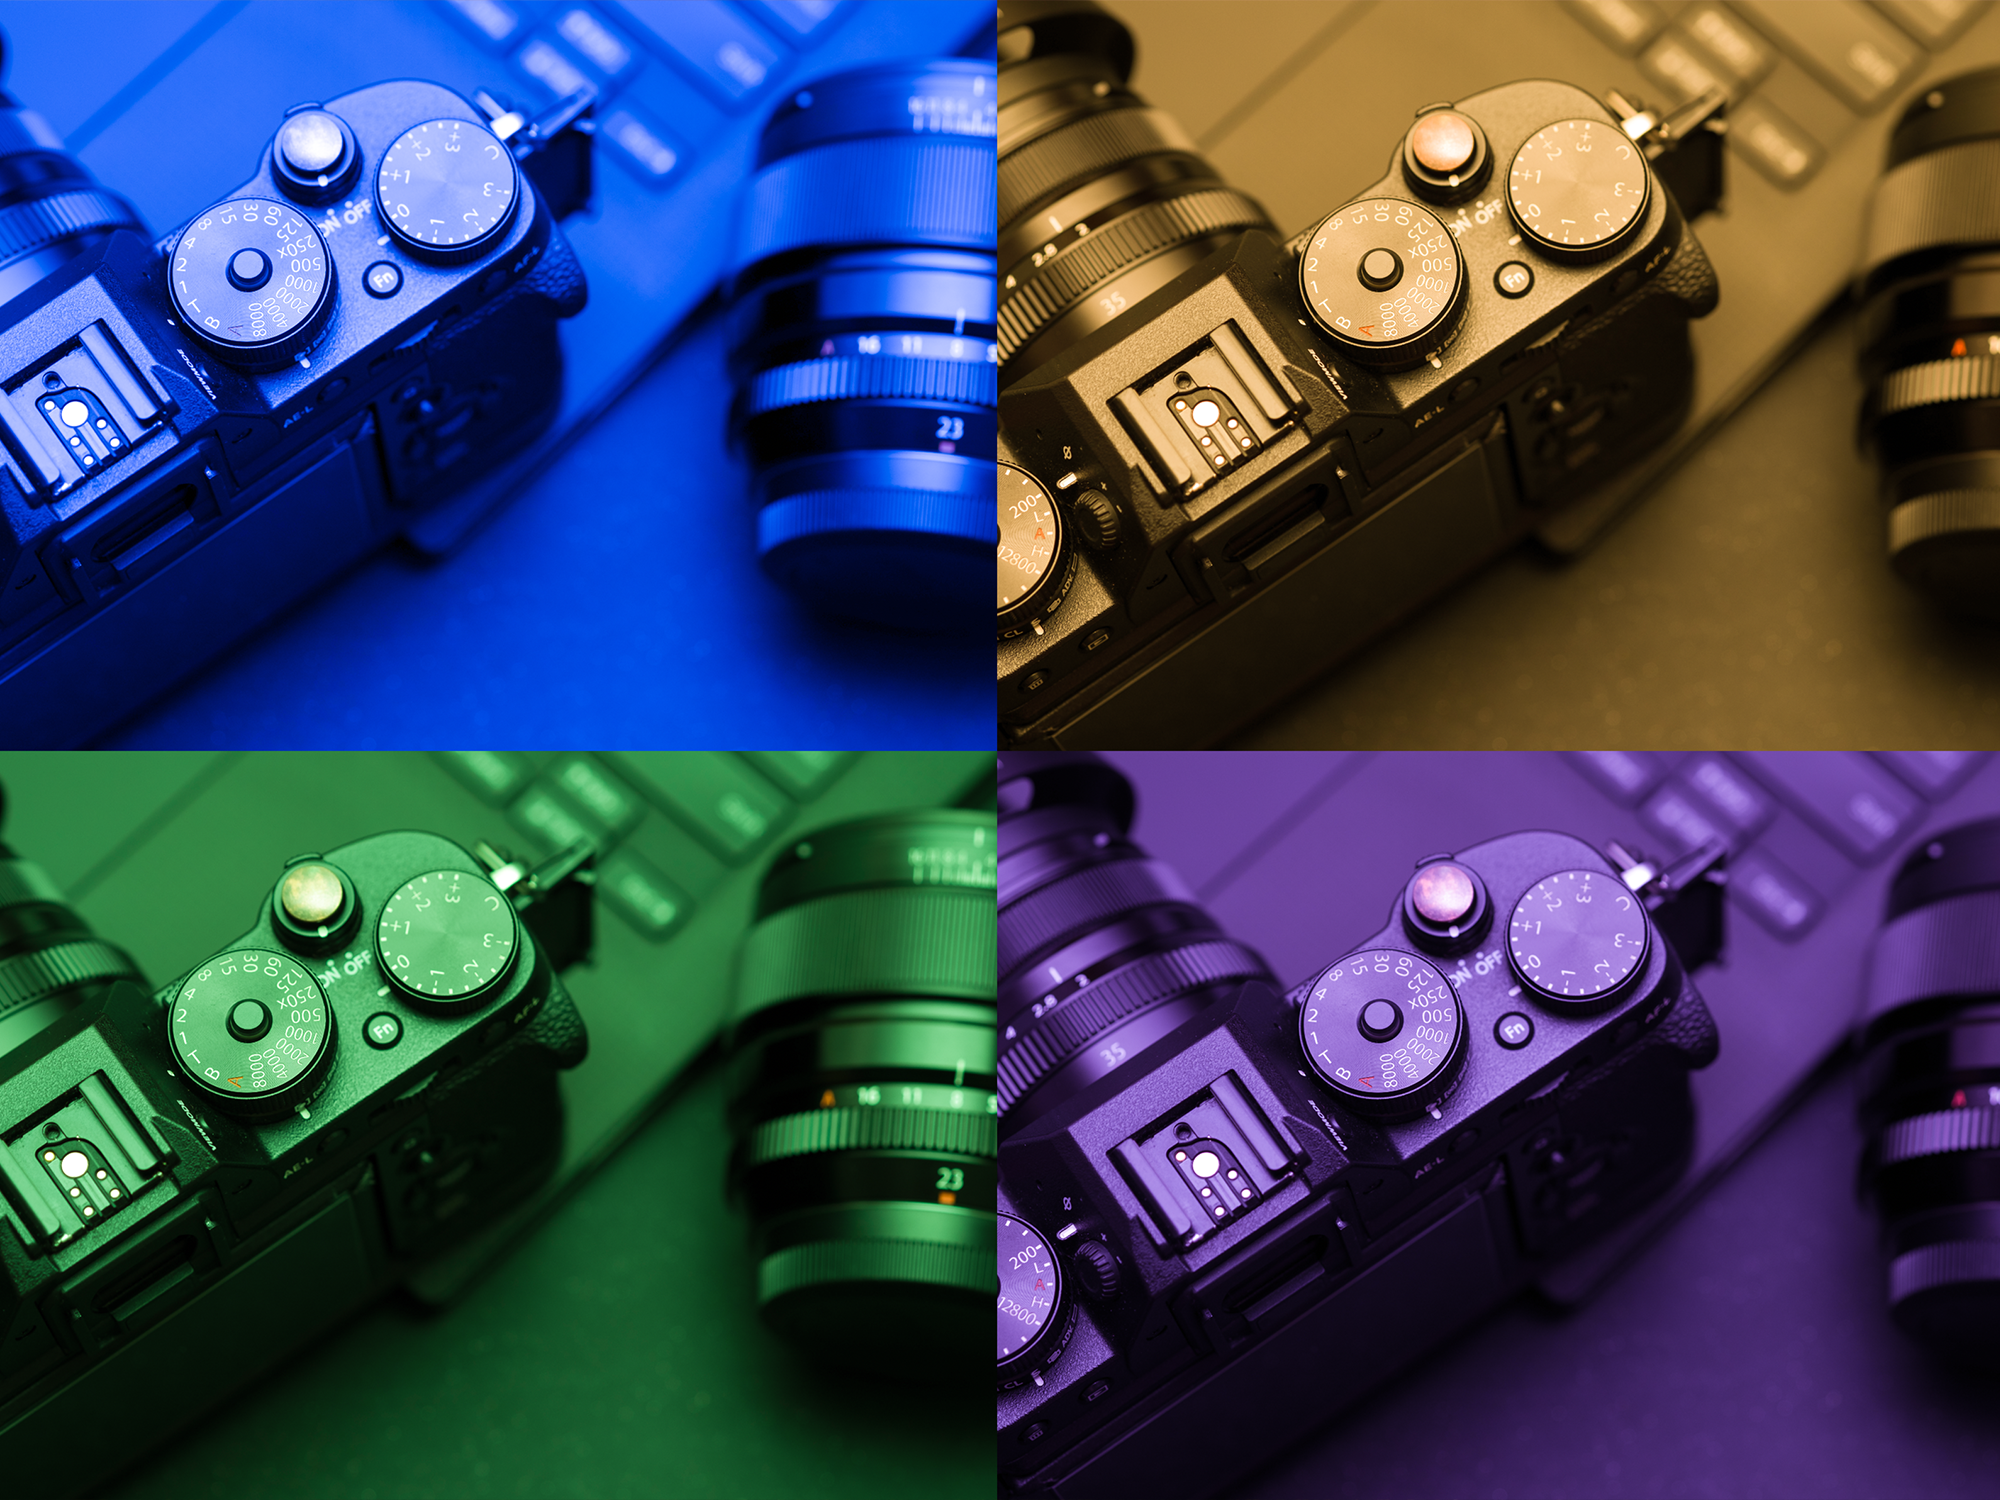
- Moving the temperature slider to the right makes the image more YELLOW.
- Moving the temperature slider to the left makes the image more BLUE.
- Moving the tint slider to the right makes the image more PURPLE.
- Moving the tint slider to the left makes the image more GREEN.
- Yellow is the opposite of blue.
- Purple is the opposite of green.
It is all summarized in the image below, with each corner corresponding to the four slider adjustments:

Getting an accurate white balance requires the correct adjustment of both the temperature and tint sliders. There are four basic methods to arrive at good results.
Method 1: Shoot RAW and use the built in white balance presets
If you shoot RAW files and open the dropdown menu just above the white balance sliders you will have the following options:

I mentioned earlier that RAW shooting leaves white balance as an open parameter that you can set later in Lightroom. Depending on the light during shooting, we can set the white balance as close as possible to the shooting conditions and then fine tune with the two sliders. In the example below, I chose the "Cloudy" setting:

Pretty good off the box, but since I find it a touch too warm, I reduce the temperature to 6000 to arrive at my final result:

Fine-tuning after the RAW white balance presets is entirely up to you. I find that being subtle always makes a difference.
Method 2: Use the white balance selector
If you shoot JPG files, the dropdown menu offers very poor options:

Also note that temperature and tint readings are gone and we are left with +/- adjustments from the camera settings. The white balance selector now becomes your best friend! Click on the tool or press "W" on your keyboard and your mouse pointer becomes a picker that sets your white balance. You can correctly set the white balance by click on any neutral point on the image, in other words pure white, pure black or any neutral gray in between. Once you click on the desired point, temperature and tint are set and you can manually fine adjust as already explained above.
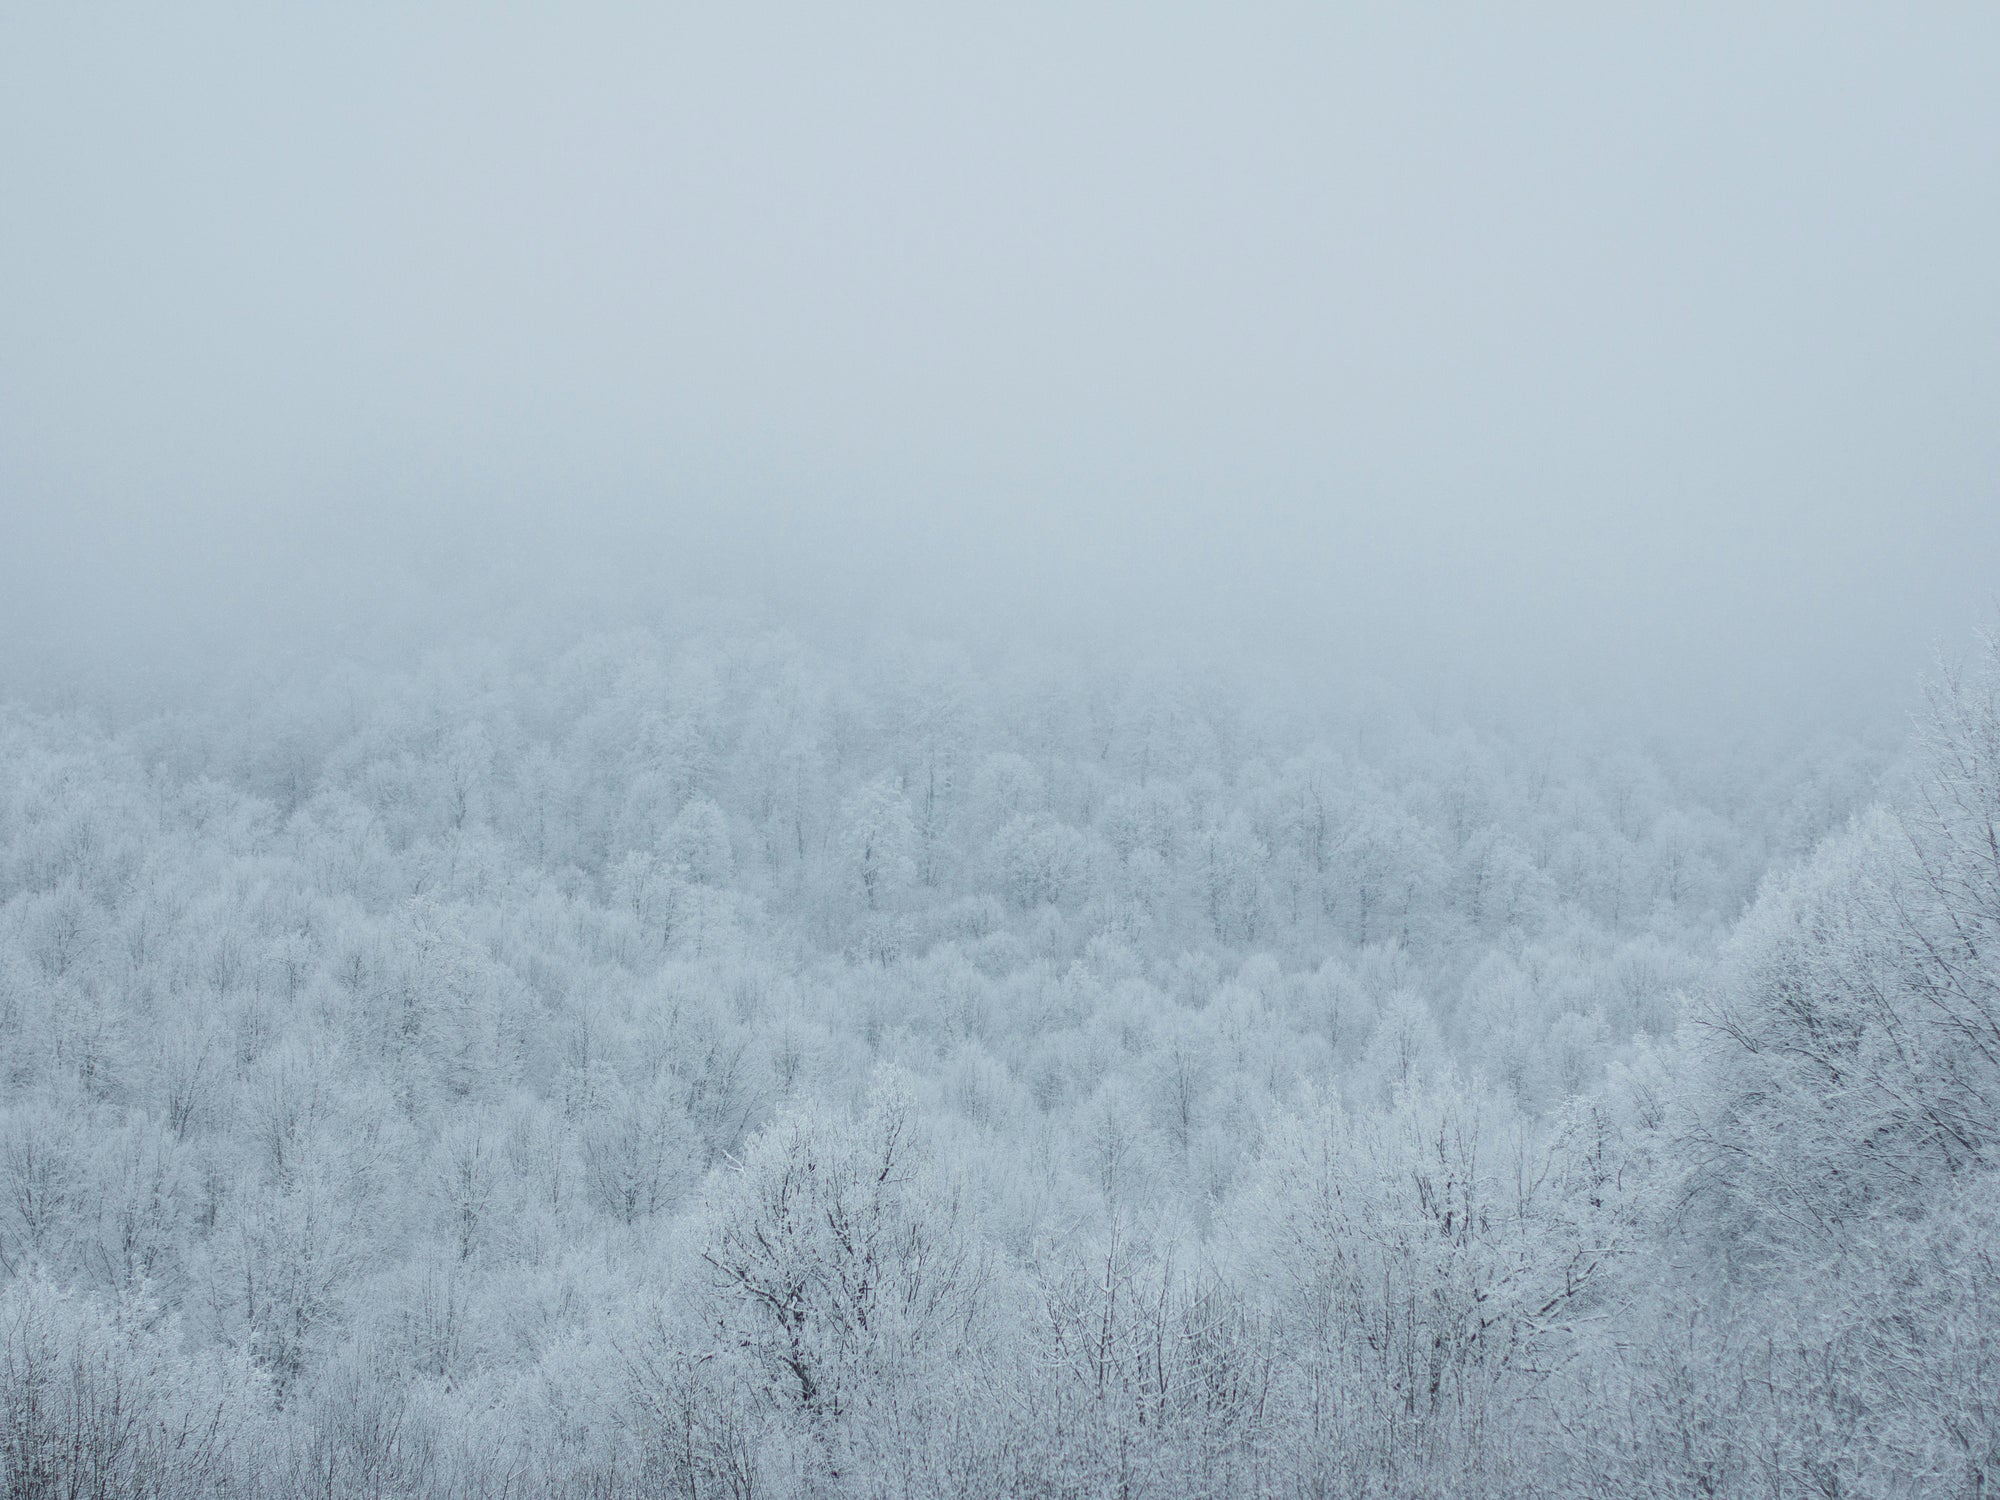
I will demonstrate with a typical snow situation where the camera auto white balance is always confused, perceives snow white as too warm and results in the dreaded blue snow look:

By sampling on snow that is supposed to be pure white (not in the shadows where it is bluish by default) I obtain the following natural result:

Method 3: Use the Auto white balance setting
If an image has no obvious neutral points, it is worth exploring the Auto option as a starting point. Results can often be disappointing (press Ctrl-Z or Cmd-Z to revert) but you will be pleased to find out that in many cases it is a move that brings the image close to the desired look and is a life saver from many manual trials and a possible dead end.
Method 4: Manual adjustments and getting adventurous
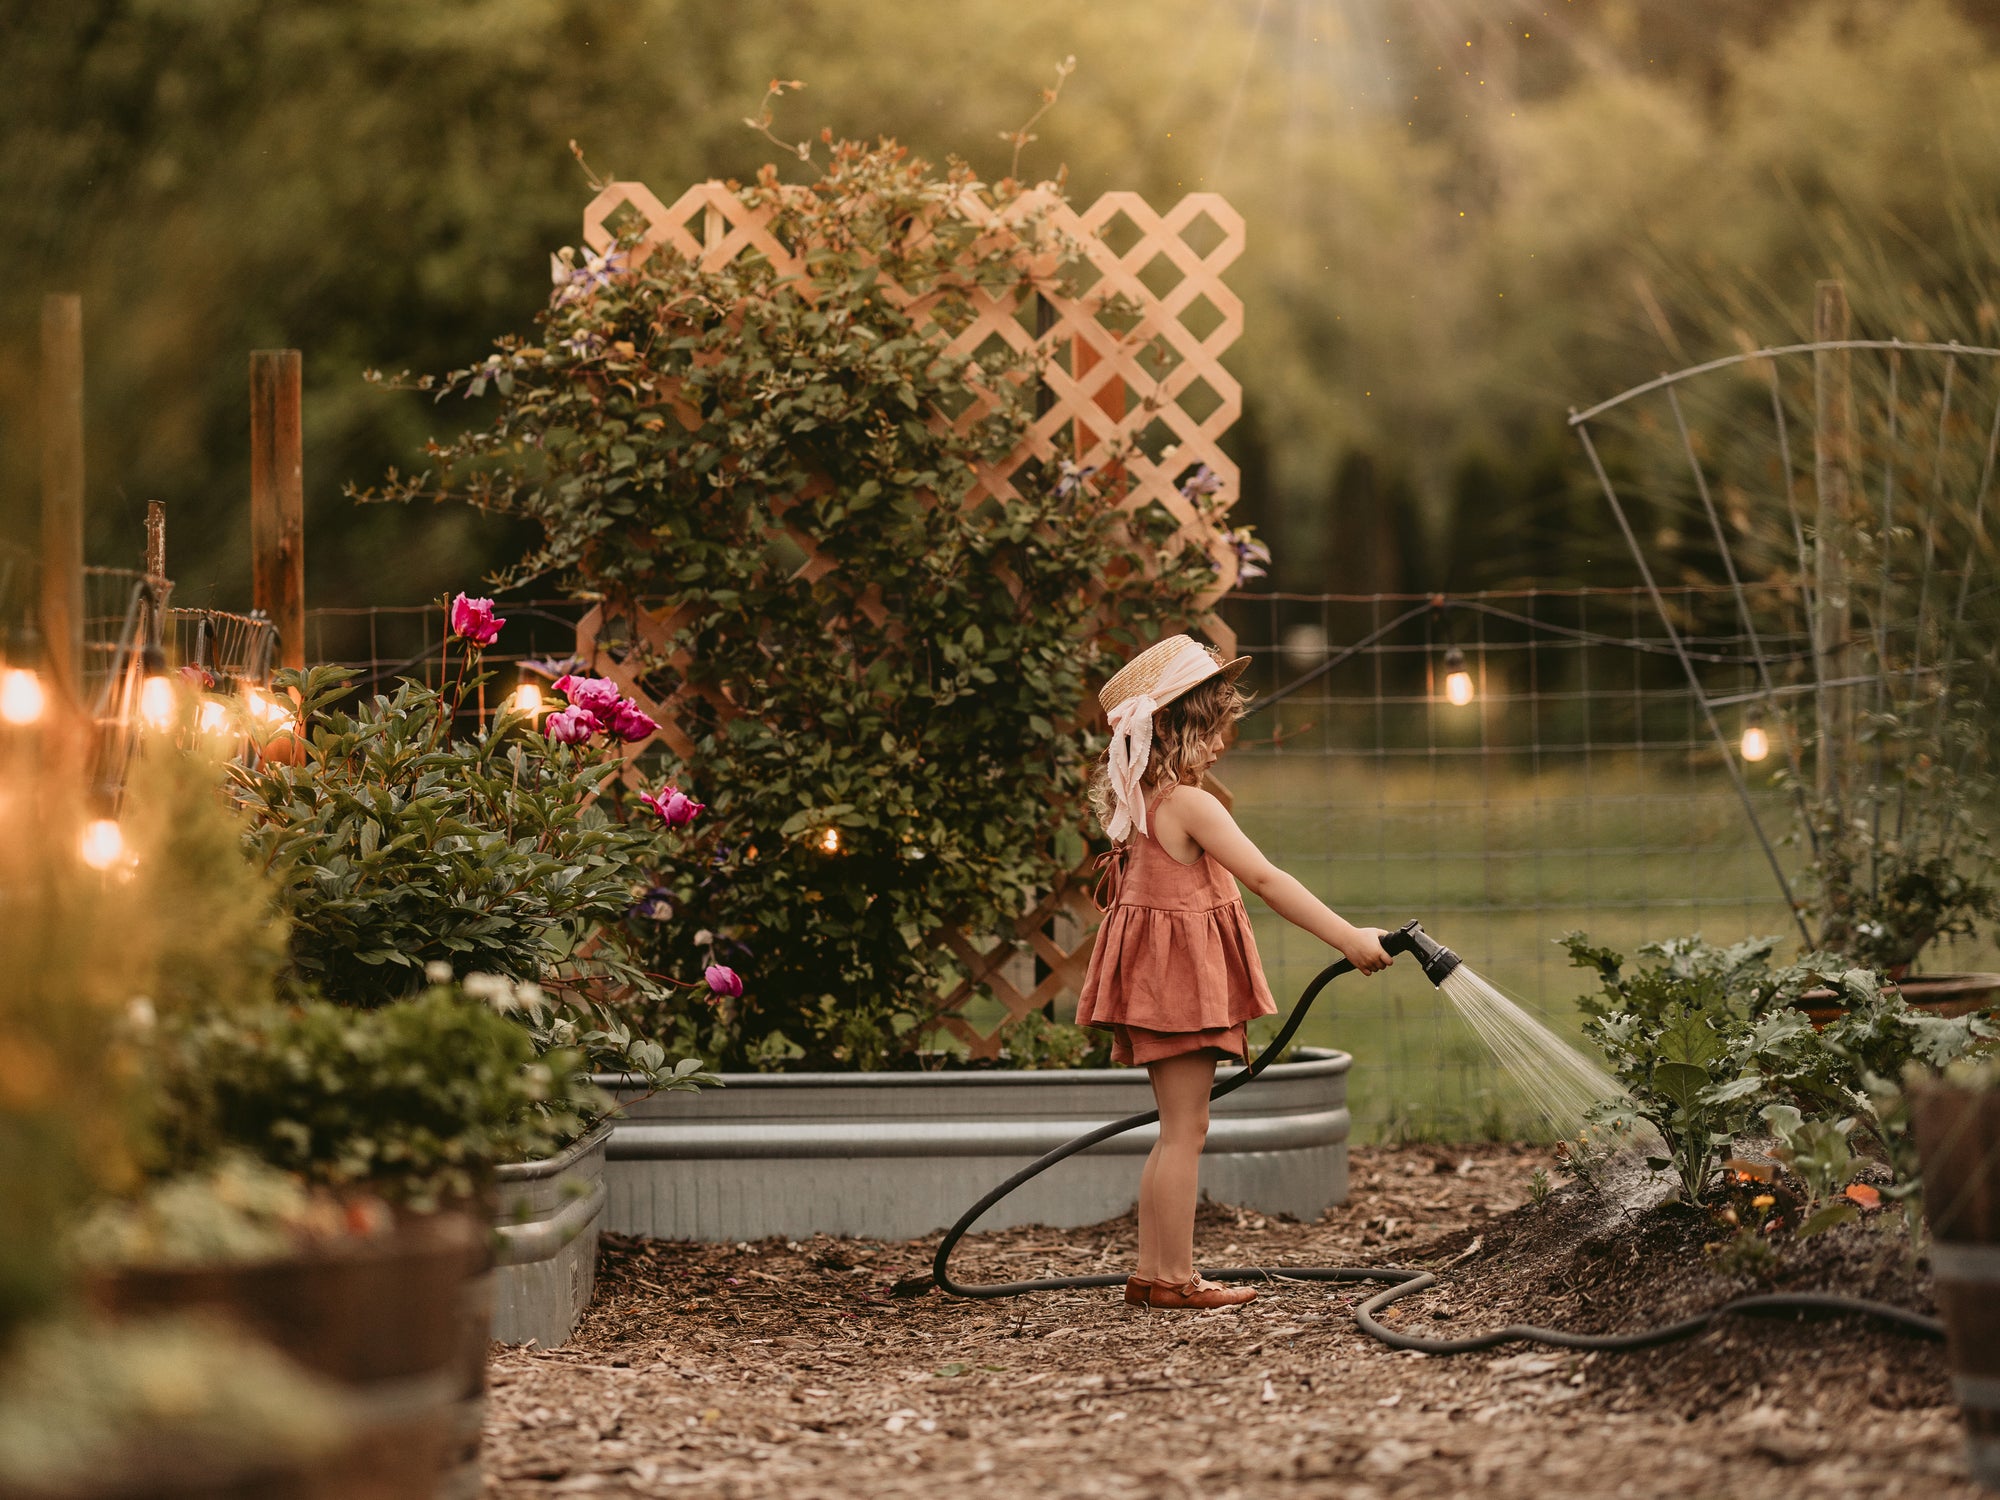
Manual adjustments can achieve new creative looks and offer endless stylistic fun. There is no better way than combining white balance exploration with Lightroom presets. Here is a spring city photo:

For some reason I want to reproduce a cold effect and make it all look like a drab winter morning that makes me shiver by just thinking about it. Trying different presets, I chose the "Deep" preset from the Luxe Lens Let it Snow! Collection.

I like the result but everything still looks slightly yellow. I do not feel cold enough and want to further adjust. If you remember from basic color theory, sliding the temperature to the left adds blue (and reduces yellow), so I reduce temperature from 5650 to 4950:

Finally, I have the look I desire and white balance has provided a quick way to achieve dramatic results in a very short time space. It works for me personally but there is no reason that the same photo cannot be the departure point for many different creative looks.
White balance is essential in photography and Lightroom has all the right tools to achieve any look and style, from the ultra realistic to the wild and psychedelic. As an added bonus, it is worth mentioning that white balance works exactly the same way in Photoshop's RAW module, therefore practicing and learning in one of the two automatically applies to both programs.
About the Author: Dimitrios Matsoulis is an engineer that studied in the UK and has industrial automation and solar energy background. His love for outdoor activities and photography has naturally led him to photo editing. He uses Lightroom and Photoshop for his own photography as well as freelancing gigs. He lives in Greece and maintains his online presence via his personal photography blog, 500px and Instagram.