Images Updated: September 2019 for Lightroom Classic CC 8.4
Culling photos in Lightroom is a crucial process that helps us choose our best images for editing. Imagine coming back from a wedding shoot or a long holiday. The probability of having to go through hundreds, or even thousands, of images is extremely high. Capturing critical moments by shooting more photos than what we actually need is a foolproof way of giving ourselves the choice to choose our keepers at a later point. Whereas the camera LCD is great to check for blown highlights or enter camera settings, it is highly recommended to not do the culling in the camera. It is better to not rely on such a small screen for such a critical task (even blurry photos can look crisp in small sizes without zooming in to check). Instead save battery charge and rely later on Lightroom's powerful tools.
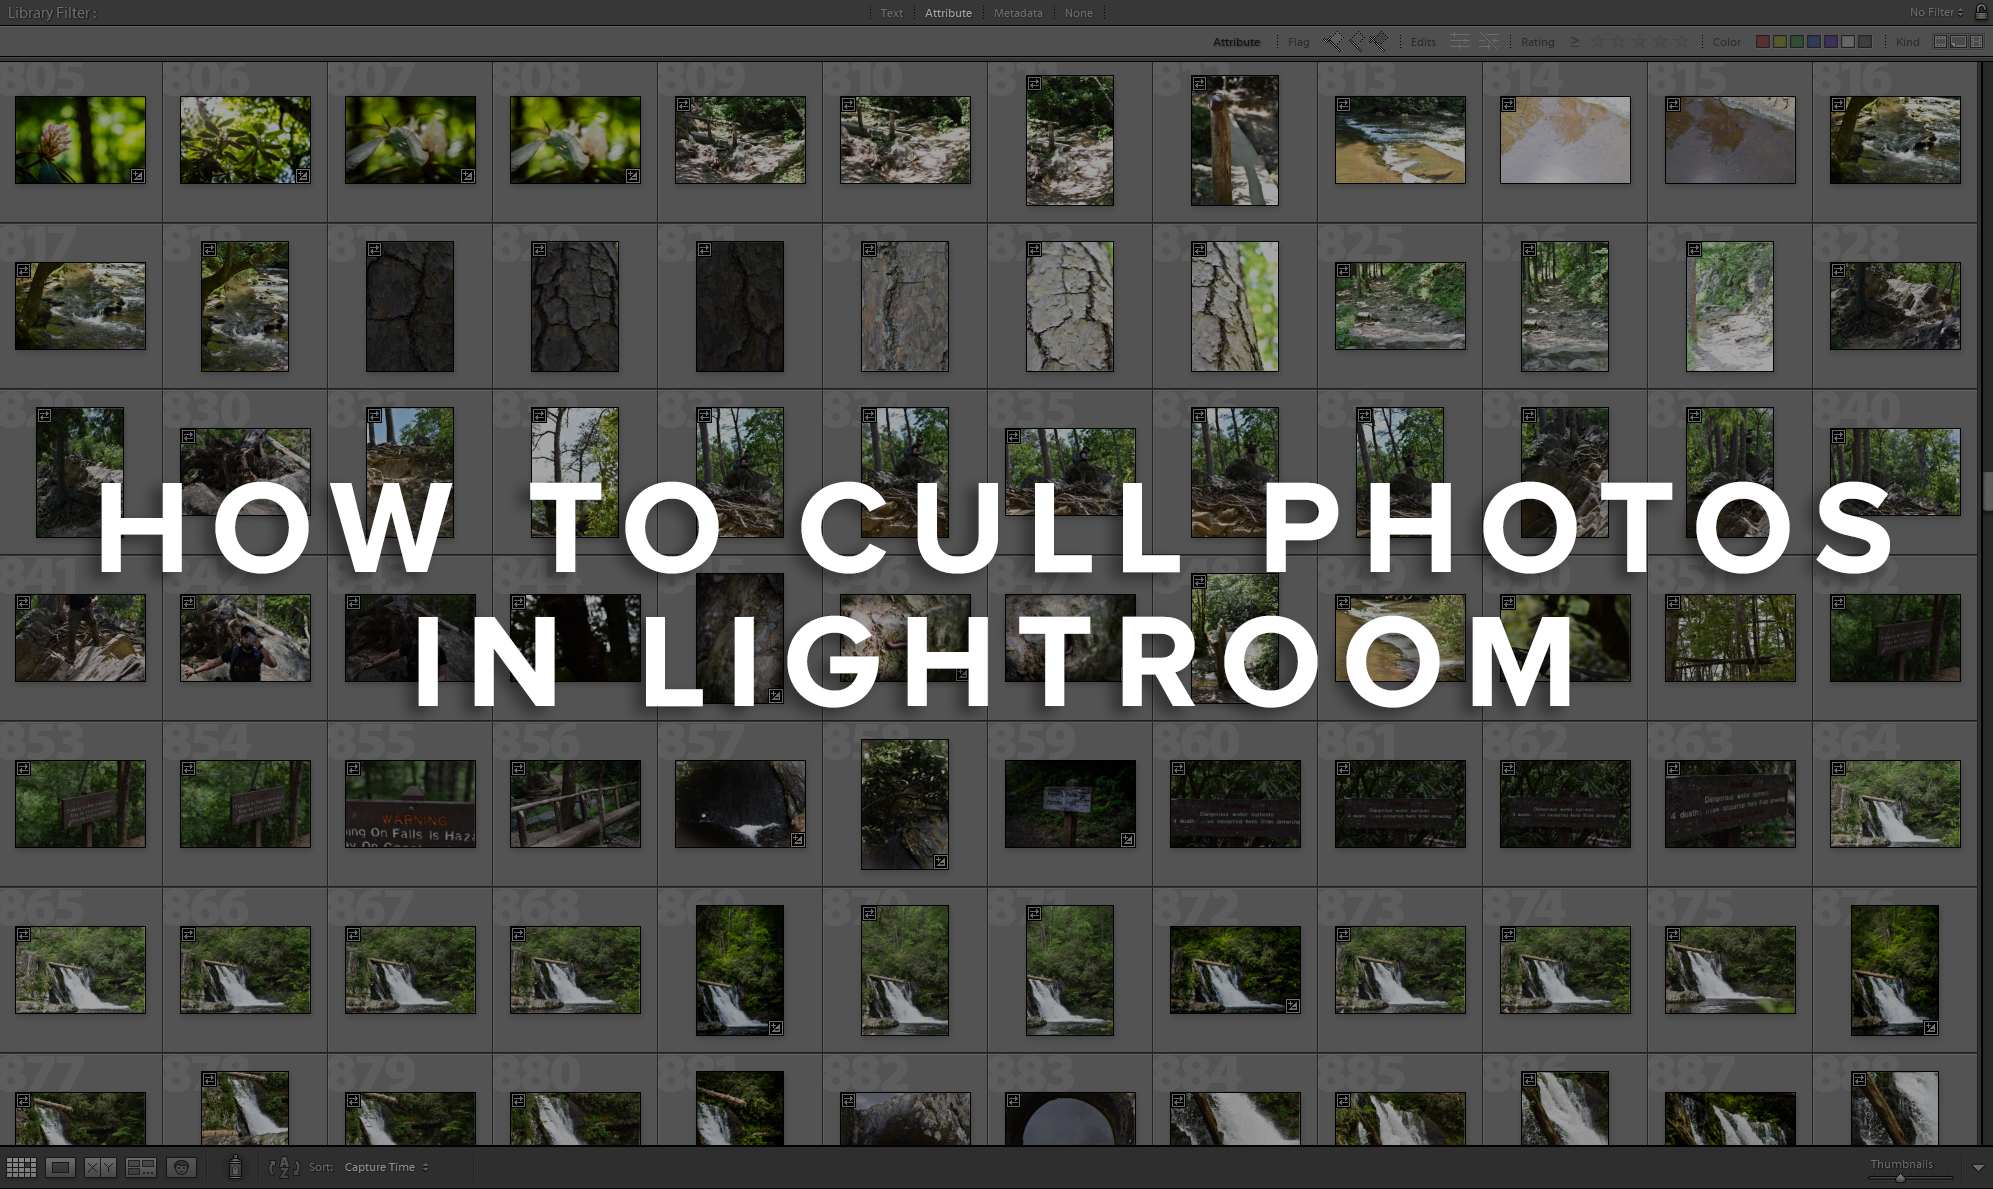
Lightroom is well known for its powerful cataloging features. Once photos have been imported, you can add tags and copyright info, flag photos as approved or rejected, use color codes for different photo categories or add star ratings depending on how high or low you value each photo. To avoid confusion, I will concentrate on flags and star ratings. They are perfectly sufficient to swiftly deal with most situations. Note that thanks to Lightroom's cataloging tool abundance, editors deal with culling in different ways. Once you have a good grasp of the culling mechanism you can adapt your workflow accordingly. The screen examples are from a daily hike that ended up in 500+ photos. Here are the steps I took to quickly end up with less than 100.
Step 1: Switch on filter and rating toolbars
All steps take place in Library mode that is accessed either by pressing "G" on your keyboard or by clicking on "Library" at the top right of the Lightroom window. Be sure that you can view the filter menu (red arrow at top of screen below) and the ratings icons (Ratings icons are located on the bottom toolbar in older versions of Lightroom, and the top toolbar in Lightroom Classic CC 8.4, as seen below).

If you cannot see one of the two, activate the filter menu by pressing backslash (\) on your keyboard or go to "View"-->"Show Filter Bar" in your menus. Similarly, activate the bottom toolbar by pressing "T" on your keyboard or go to "View"-->"Show Toolbar" in your menus.
Step 2: Enter star ratings and reject flags
I prefer to use the reject flag for shaken, badly composed and generally unacceptable photos. For all the rest I use the start ratings with one star signifying a barely acceptable frame and five starts signifying a perfect all-time classic (according to my taste anyway). A lightning fast way to do this is to double click on the first image (or press “E”) to enlarge in loupe view, use left-right arrow keys to move between images and rate with these shortcuts:
- X : mark photo with reject flag.
- P : mark photo with pick flag.
- U : remove flag.
- 1 - 5 : mark with 1, 2, 3, 4 or five stars respectively.
- 0 : remove star rating.
It is pretty straightforward and you can fly through your catalog. You can always do more than one pass to be sure that the star ratings reflect your opinion. Press “G” to get back to grid view. Here is how the catalog looks after I have added reject flags and ratings.

Arrow 1 shows the reject flag added on the top left of the frames and arrow 2 shoes the star ratings added at the bottom. Now we are ready to use the filter toolbar.
Step 3: Filter and delete rejects
The filter menu can adapt the library view according to our flags and stars. Press "Attribute" and the filter toolbar will expand to show a strip of icons. There are three flag icons, press the right one (called "Filter based on flag status") and suddenly your photos will be reduced to the flagged ones (we did not mark any ones as picks).

These are photos we do not wish to keep, so select all of them with Ctrl-A (Cmd-A) and press "Delete". On the menu that follows choose, "Delete from Disk". These images are no more needed but if for some reason you want to quickly fill up your hard disc press “Remove”.

Step 4: Filter by star rating
The final step is star ratings. You will need to decide what your minimum star rating is for editing. In my example I filter to keep photos of at least three stars. By clicking on the icon show with the red arrow (to the right of the “Rating” label), we can choose what type of ratings we will keep. In our case we choose “Rating is greater than or equal to”.

All that has to be done is to click on the third star (starting from the left) so that we only see images of at least three stars.

The filtered photos are now down to three items! You can be as strict as you wish and develop your very own regime. If you want to first edit the very best shots, you can filter for five stars by choosing the “Rating is equal to” option with five stars, then move to the four star category and so on. If the images below a certain star rating are to be deleted the “Rating is less than or equal to” option with the choice of appropriate star category will provide you with all the photos to be removed from the catalog or even from the hard disc. For small numbers of images or if you do not want to bother with star ratings, reject and pick flags can be a perfectly acceptable method.
About the Author: Dimitrios Matsoulis is an engineer that studied in the UK and has industrial automation and solar energy background. His love for outdoor activities and photography has naturally led him to photo editing. He uses Lightroom and Photoshop for his own photography as well as freelancing gigs. He lives in Greece and maintains his online presence via his personal photography blog, 500px and Instagram.